
How a scene goes together
The anatomy of one set: background, sheet, layers and order. Why furniture goes down before teacups, and the small technique that tweezers are actually for.
Nothing about a 3D sticker scene book requires instructions, which is part of its charm, but there is a build order that makes every scene come out better, and it takes one paragraph to learn.
The anatomy of a set
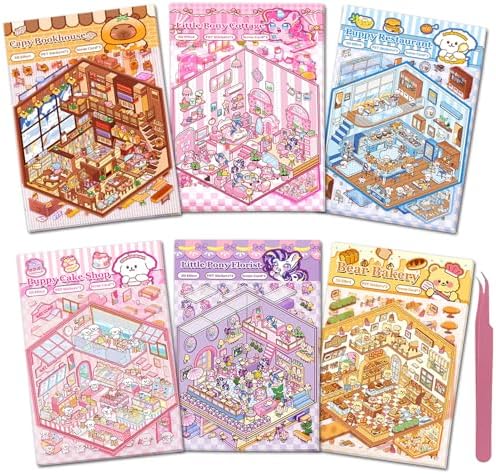
One set is one printed background page and its matching sticker sheet. The background carries the bones of the room: walls, floor, a window, maybe a counter. The sheet carries everything that goes into it, and the pieces are cut in rough size order, large furniture at one end, tiny props at the other. That ordering is a hint from the manufacturer, and following it is most of the technique.
Back to front, big to small
A scene builds the way a stage set does. Anything that touches the wall goes first: shelves, tall cabinets, the curtains. Then the mid-ground, sofas and tables and rugs. Then the things that sit on other things, books on the shelf, a pot on the stove, a cat on the rug. The reason is overlap. Layered stickers create the depth that puts the 3D in the name, and depth only reads if near things physically cover far things. A teacup placed before its table has nowhere to sit.
What tweezers are actually for
Not for peeling. Pieces lift off the sheet easier with a fingernail at a corner. Tweezers earn their place at touchdown: a small piece held at the tip can be lowered exactly onto its spot, checked from above, and pressed with the tweezer shoulder, all without a fingertip blocking the view of a quarter-inch object. Most standard albums pack a pair, and the two thirds of listings that mention them are not padding the box.
The mistakes everyone makes once
- Emptying the whole sheet before starting. Loose stickers wander, stick to sleeves and vanish. Peel as the scene calls for each piece.
- Building front to back because the front pieces are the cute ones. The cat goes down last, however tempting.
- Pressing hard while positioning. Light contact first, alignment check, then commitment. Paper stickers give a lift or two, not five.
- Finishing a scene at a lively kitchen table. One elbow, one juice glass. A tray or a clipboard makes any seat in the house a workbench.
How long one scene takes
Somewhere between twenty minutes and an hour. Dense standard pages with forty-plus pieces sit at the long end, big size pages and small kit boards at the short one. The hobby fits the time it is given: one scene is a complete sitting with a finished picture at the end, which is exactly why people describe it as a way to wind down after screens all day.
Where to practice the order cheaply
A small kit of 4 to 6 scenes teaches the whole sequence for well under ten dollars, and by the last board the back-to-front habit is automatic. From there the twenty set albums are the same craft with a longer runway, and the first book guide covers how to choose among them.
More notes
Picking a first 3D sticker scene book
What actually comes in the box, the three questions that narrow 72 albums down to one, and what a first evening with a scene book looks like.
FormatsTwenty sets or big size: two shapes of the same book
The standard album and the big size edition build the same scenes at different scales. Page width, piece size, scene count and price, compared from the shelf.